Translate

Friday 1 March 2019

Shelled box

Hi , Priya here for nagashri  arts . Sharing my gdt post today.  This time it's a shelled box ...yes u read right a shell box . We generally  use texture paste , stencils and a whole lot of products to create interesting  elements on our projects . So today I m sharing one of the most cheapest and convenient and easy ways to create interesting  effects in ur projects  so let's get started
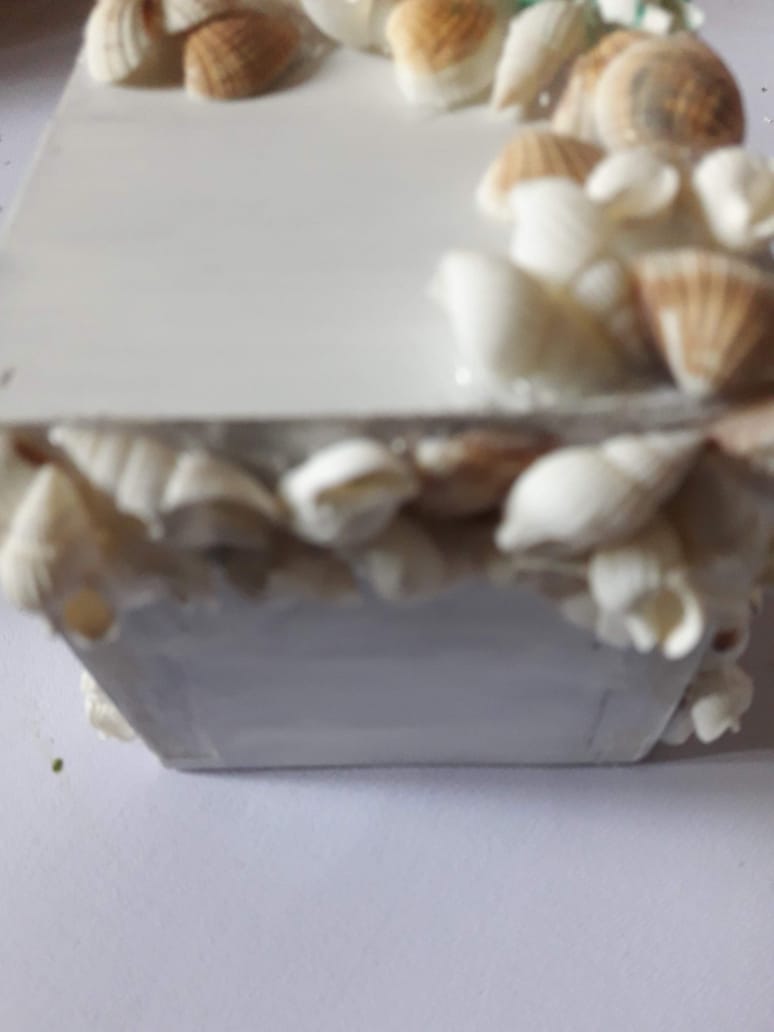
First I took this MDF box gessoed it  and stuck shells randomly  with a hot glue gun
Next coloured  the box with metallic paints in shades of green and ancient  gold.
Next added few stones which I coloured in gold before sticking . Next I stuck a metal butterfly  charm and 2 more butterflies made from hot glue and silicon mould .
Next I brushed green and gold metallic paints on the hot glue butterflies and sprayed brown and blue sprinkle  mists again randomly all over .
Finally added few metal flowers and finished my box
Hope this method was easy and helping and do try and post it and do tag me , so I can see your versions of this .for all the products used please log onto www.nagashriarts. in
Happy crafting guys


Monday 25 February 2019

Easel tags


Hi friends . Priya again from priyas studio , sharing my gdt project for nagashri arts.  Today's project is very interesting  as I have used the tags of different  shapes and sizes and made one big , layered mixed media easel tag . So without much ado let's start the process
Firstly I took 3 tags an oval , a small rectangle and a long pentagonal shape . I added different  textures by stencils and texture paste
Next I stuck few chippies in the background and added the tags one over the other .
Next I stuck a fabric embellishment on a metal filigree and stuck that in one corner and added a key there
Next painted the whole arrangement with black gesso and then brushed  raw umber and ancient  gold metallic paints along with few sprays of royal blue sprinkle mist and immediately  mixed the blue with few brushes of white gesso .the result was denim blue . Again added gold paint .
Finally painted 2 metal.flowers with rust paint , stuck metal Brad's in the centres and stuck to my tag
In the end just tied twine on the tags and it was complete
Please do let me know if u enjoyed the tutorial  and do make them and tag me in ur posts . Signing off for now , will be back soon with another awesome project . Bye guys have a great day


Saturday 26 January 2019

Vintage Diary

Hi friends Priya Gajjar here for Expressions Craft.  Today sharing a vdo tutorial how I created this vintage diary .
The process is very easy for new comers also to follow .and with Expressions  Crafts amazing products,  u get awesome results for ur projects too.


Stencils
https://www.expressionscraft.in/product/best-stencils/

Metallic paints

https://www.expressionscraft.in/product/raw-umber/

https://www.expressionscraft.in/product/tuscan-red/

https://www.expressionscraft.in/product/gun-metal-grey/

https://www.expressionscraft.in/product/gun-metal-grey/
Other products used
https://www.expressionscraft.in/product/immix-deco-stones-medium/

https://www.expressionscraft.in/product/black-heavy-gesso/

https://www.expressionscraft.in/product/texture-paste/

Chippies
https://www.expressionscraft.in/product/cogs-wheel-frame/

Monday 21 January 2019

Sospeso clock with mixed media

Hi friends,  Priya here from Priyas Studio, today I m here with another gdt project for Nagashri  Arts . Today I have made a Sospeso clock with mixed media so let's start and see how u can create the same

First I took the sospeso and fussy cut the flowers

Next light a tea light and heat the fussy cut flowers on it and immediately  emboss them . Same procedure  for the leaves

Next I added pollens to the flowers using berry and micro pollens .now for my base , I used the grandfather clock base from www.nagashriarts. in I used a wall stencil and added texture with texture paste on the sides

Next I coloured the centre part with chalk paints in dark blue and grey mixed together  . After it dried,  i added one step crackle and after it dried applied white gesso and light blue and grey chalk paint on it after the cracks formed i sprayed the area with sprinkle mists in blue and white

Next I coloured the bricked wall with brown and grey chalk paint and later brushed it with white gesso and inka gold

Now I stuck deco stones and  micro  beads randomly and sprayed them with blue and white sprinkle mists and brushed them with a touch of inka gold

Finally I assembled the prepared flowers and leaves , added flat gold beads and  shells and sprayed auto clear resin  all over and sprinkled glitter and diamond dust

Lastly added the clock machine and fixed the clock hands and completed  my project . Here are few more detailed pictures of the clock


Hope u al enjoyed the tutorial  . Pls click onto www.nagashriarts .in for all the materials required  . Happy crafting
https://www.nagashriarts.in/product/hut-shape-clock-base-big-size-mdf

Tuesday 15 January 2019

SteamPunk jewellery


Hi guys Priya here , today I m sharing my mood board inspiration  for Expressions Craft on my blog . Today I have created Steam Punk jewellery  , made from Chippies and ChalkPaints from Expressions Craft .

First i have taken the Steam Punk chippies and coloured them with chalk paints
Next I stitched few gold ghungroos on them

Then I stuck embellishments and tied teo loom bands on the 2 ends of the neckpiece for tying the necklace

For the earings and finger ring , I cut 3 gold mirror paper with a circle die and stuck it on the SteamPunk gears , then fixed the earring pins and screen through it and stuck the embellishments to finish the look .


For the ring same way i stuck the gold mirror paper on a finger ring base and stuck metal embellishments 

For the bracelet I took a bracelet  base . Stuck one chippie In the center and stuck the embellishments  to finish the look
Hope u guys get Inspired  by my project and try and create something  different  from the Steam Punk chippies.  Happy crafting guys .

Chalk paints
https://www.expressionscraft.in/product/immix-chalk-paint-valentine-tulip/
https://www.expressionscraft.in/product/immix-chalk-paint-rose-petal/
Chippies
https://www.expressionscraft.in/product/chipboard-gears/
https://www.expressionscraft.in/product/chipboard-cutouts/

Friday 11 January 2019

Mixed media vintage key stand

Hi friends this is priya gajjar here , sharing my first dt post designed especially  for expression crafts so let's get started . Today I gave made a vintage rustic keystone holder


Here are the step by step process of making this


  First I took the brick chippies and broke them.into random pieces


 Next just arranged roughly  to get the look of it


 Next using the cracked wall stencil and immix art essential opaque Matt texture paste created this look


 Next applied the immix art essential opaque Matt texture paste on the window and door frame with the finger , just dabbing randomly


 Next with a sponge I applied glacier lava grey chalk paint and gum metal metallic paint , blending them and getting a dark and light shade of grey


 Next I dabbed military brown chalk paint randomly on the grey and with the help of a flat brush , did dry brushing on the window and door


 Next brushed raw umber metallic paint randomly here and there with fingers for a nice sheen to the entire wall and sprayed with sprinkle mists in titanium white and deep blue teal randomly


 Next coloured the wall chippies with tempo teal and glacier lava grey chalk paint


 Coloured the tree and leaves chippies with grassy felts and tempo teal chalk paint


 Then used ancient gold and raw umber metallic paints for the lamp


 Next stick all the chippies with a glue gun


 Painted few pots with chalk paints so they match my project


 Finally assembled the pots , moss , bird bath , and made the door and window knobs using large size Brad's and sprinkled few deco stones here and there .and the project is complete now


 These were the stencils and chippies used . U can click on the link below for easy purchase of the same


Hope u all enjoyed the tutorial  as much as I enjoyed creating this one . Thank u all so much , have a great day ahead

Chipboard Embellishments

Birds and Branches
Lantern
Brick wall

Chalk paints


Sprinkle mist


Metallic paint